📝 入力値ガイド
Workflow 実行時に入力するパラメータの確認方法をまとめています。
🔢 project_number の確認方法
GitHub Project の URL 末尾の数字が project_number です。
| 所有者タイプ | URL 形式 |
|---|---|
| 個人用アカウント | https://github.com/users/{owner}/projects/{number} |
| Organization | https://github.com/orgs/{owner}/projects/{number} |
例: https://github.com/users/octocat/projects/3 → project_number は 3
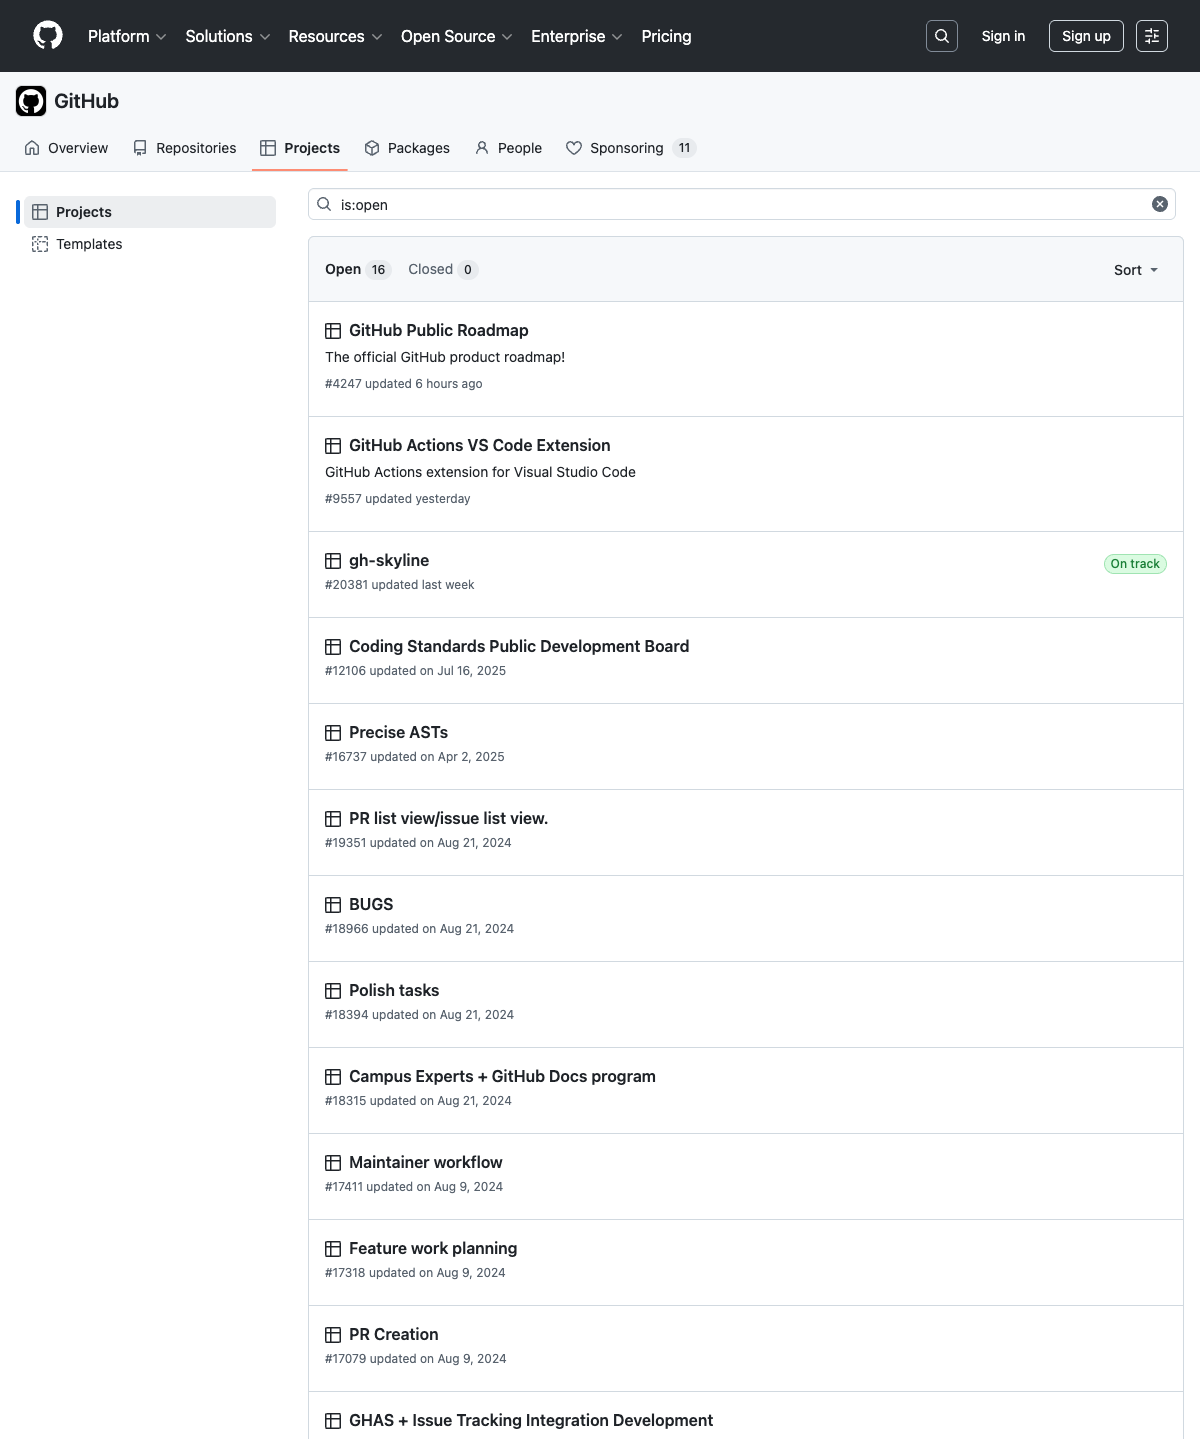
(ここをクリック)project_number の確認例(スクリーンショット)を表示
参考画像: Organization の Projects 一覧画面では、各プロジェクト名の下に#番号が表示されます。
CLI で確認する方法
gh project list
出力の NUMBER 列が project_number に対応します。
📂 target_repo の確認方法
Repository ページの URL から owner/repo 形式で指定します。
例: https://github.com/octocat/my-app → target_repo は octocat/my-app
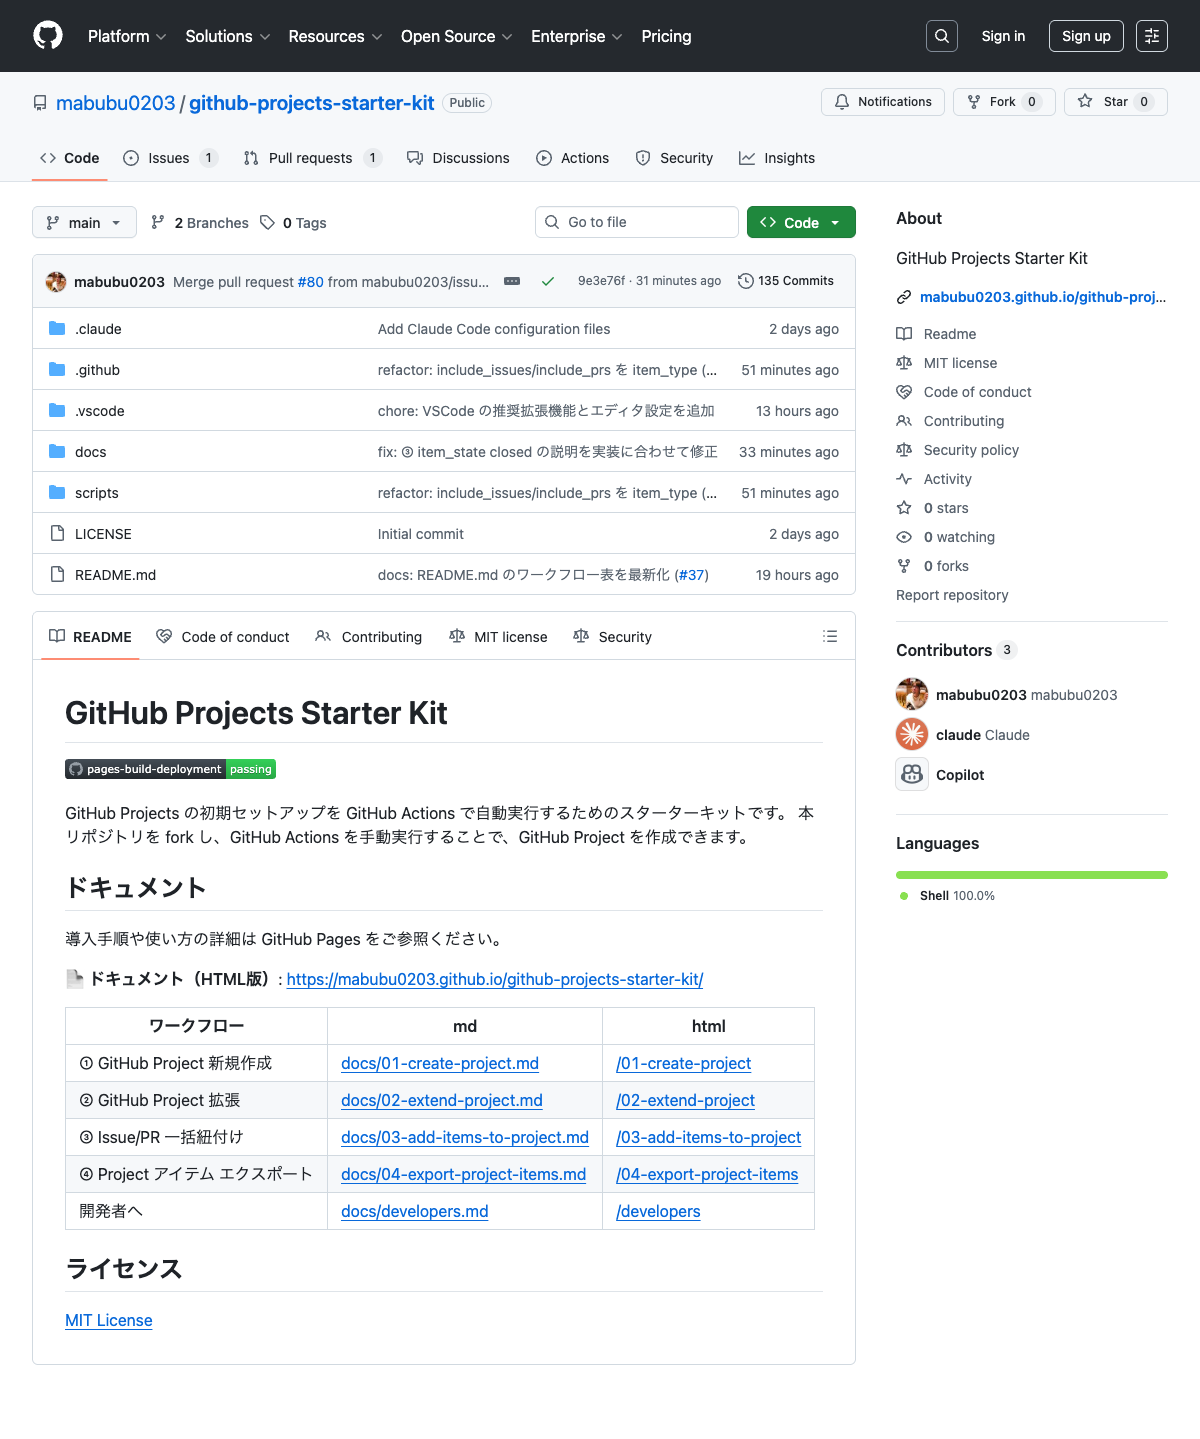
(ここをクリック)target_repo の確認例(スクリーンショット)を表示
参考画像: Repository ページのヘッダーにowner/repo形式で表示されています。
CLI で確認する方法
gh repo list
出力に Repository が owner/repo 形式で表示されます。
🎫 Issue や Pull Request の確認方法
Repository ページ上部のタブから確認できます。
| タブ | URL 形式 |
|---|---|
| Issues | https://github.com/{owner}/{repo}/issues |
| Pull requests | https://github.com/{owner}/{repo}/pulls |
CLI で確認する方法
# Issue 一覧
gh issue list -R owner/repo

# Pull Request 一覧
gh pr list -R owner/repo